The Complete Guide to Soroban Grip and Posture: Why Proper Technique from Day One Shapes Your Child's Math Future
After teaching soroban for 15 years—and watching students hit unnecessary plateaus due to bad habits—I've become passionate about proper technique. This guide shows parents exactly how to set up their child for success from the first lesson.
When my daughter first picked up a soroban, she grabbed it like a toy—all five fingers moving beads randomly, body twisted awkwardly, face inches from the frame. I didn't correct her. I let her play, explore, and fall in love with the instrument. But after three weeks, when she showed genuine interest in learning properly, we started over with technique. Now, teaching soroban for fifteen years, I see the pattern repeatedly: children who develop good habits early calculate faster and more accurately than those who must unlearn bad habits later. This isn't about perfectionism—it's about setting your child up for effortless progress instead of unnecessary struggle.
Why Technique Matters More Than Most Parents Realize
Many parents wonder if grip and posture are really important for a six-year-old just learning to count beads. The honest answer: for the first week or two, not really. Let children explore. But once they move past basic exploration into actual calculation, technique becomes the foundation everything else builds upon.
Here's what I've observed after teaching hundreds of students: children with proper technique from the start rarely hit the 'intermediate plateau' that frustrates many learners. They progress steadily, their speed increases naturally, and they transition to mental calculation (anzan) more smoothly. Children with poor technique often plateau around the 3-4 digit calculation level, requiring painful retraining to advance further.
| Aspect | Good Technique from Start | Technique Corrected Later | Never Corrected |
|---|---|---|---|
| Speed ceiling | Very high (competition level possible) | High (requires adjustment period) | Medium (limited by inefficiency) |
| Accuracy at speed | Consistent | Recovers after adjustment | Degrades as speed increases |
| Mental calculation transition | Smooth | Possible with effort | Difficult or impossible |
| Physical strain | None | Temporary during correction | Potential long-term strain |
| Enjoyment level | High (mastery feels effortless) | Dips during correction, then high | Frustration common at higher levels |
Think of soroban technique like piano fingering. A beginner can play 'Mary Had a Little Lamb' with any fingers. But try playing Chopin with random fingering—impossible. Proper technique is an investment in future capability.
The Optimal Physical Setup
Desk and Chair Configuration
The physical environment shapes technique more than most parents realize. A child hunched over an awkward setup will develop compensatory habits that become permanent. Invest a few minutes in proper setup.
- •Chair height: Child's feet should rest flat on floor or footrest—dangling feet create instability
- •Desk height: Forearms should be roughly parallel to the floor when hands rest on soroban
- •Lighting: Light should come from the side or above, never directly behind (creates shadows)
- •Workspace: Clear at least 18 inches of desk space for soroban plus problem materials
- •Distractions: Remove toys, devices, and clutter from the workspace during practice
Soroban Placement
Where and how the soroban sits on the desk affects everything from posture to finger angle to reading accuracy.
- •Distance from body: 6-8 inches from the desk edge, allowing room for arms to rest comfortably
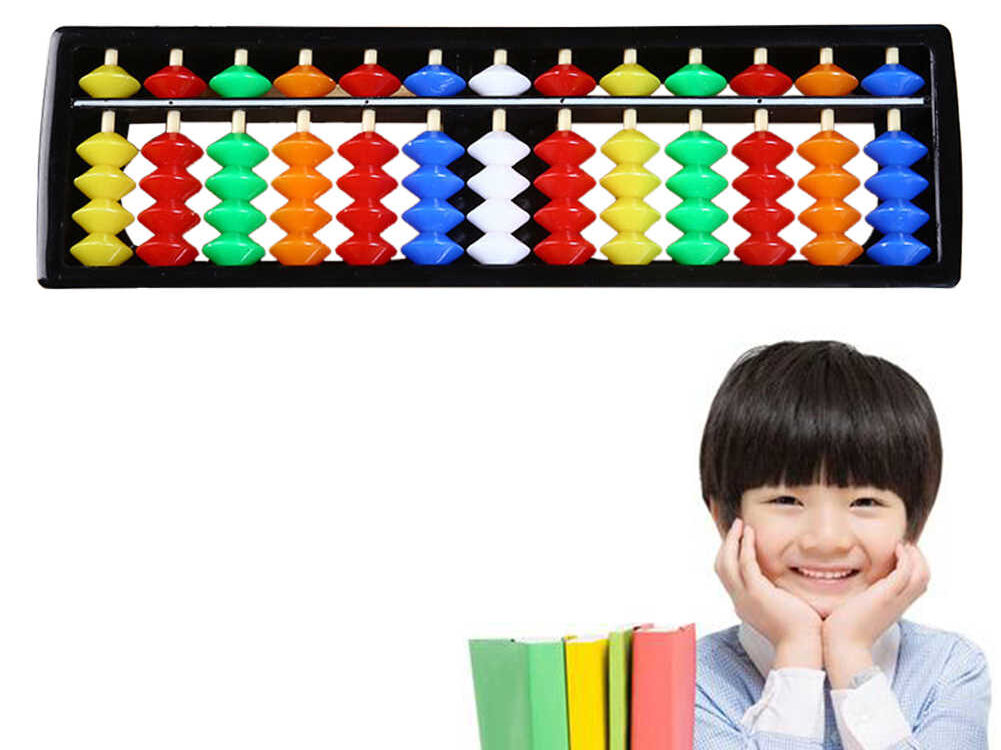
- •Orientation: Beam (the horizontal bar) should face the child, with the single upper bead section above
- •Angle: Soroban should be level—tilting it causes beads to move on their own and creates reading errors
- •Stability: Place on a non-slip surface if soroban tends to slide during use
- •Position: Centered in front of the child, not off to one side
Body Position
Correct body position prevents fatigue, maintains concentration, and enables precise finger movements.
- •Back: Straight but relaxed—not rigid military posture, not slouched
- •Shoulders: Relaxed and level, not hunched up toward ears
- •Head: Upright, looking down at soroban with eyes rather than bending neck forward
- •Arms: Resting comfortably, elbows close to but not pressed against body
- •Distance from soroban: Far enough to see the full frame comfortably (about arm's length)
Watch your child's posture during practice. If they're leaning in or twisting, the setup is wrong. A child with correct setup practices comfortably for 15-20 minutes without fidgeting.
The Traditional Finger Technique
Japanese soroban technique has been refined over centuries for maximum efficiency and speed. While variations exist, the traditional method remains the gold standard taught in Japanese schools and soroban academies worldwide.
The Right Hand (Primary Operating Hand)
The right hand performs all bead manipulation in traditional technique. Only two fingers are used:
- •THUMB: Pushes lower beads UP (toward the beam)
- •INDEX FINGER: Pushes lower beads DOWN (away from the beam)
- •INDEX FINGER: Also controls the upper bead (both directions)
| Bead Type | Direction | Finger Used | Motion |
|---|---|---|---|
| Lower beads | Up (adding value) | Thumb | Push toward beam |
| Lower beads | Down (subtracting value) | Index finger | Push away from beam |
| Upper bead | Down (adding 5) | Index finger | Push toward beam |
| Upper bead | Up (subtracting 5) | Index finger | Push away from beam |
The most common beginner mistake: using the index finger to push lower beads up. This creates an awkward hand angle that limits speed later. Thumb UP, index finger DOWN—memorize this rule.
Finger Position and Touch
How the fingers contact the beads matters as much as which fingers are used:
- •Contact point: Use the pad (fleshy tip) of the finger, not the nail or side
- •Touch: Light and quick, not pressing or grabbing—beads should slide easily
- •Finger curve: Natural slight curve, not straight and tense
- •Unused fingers: Middle, ring, and pinky stay relaxed and curled, out of the way
- •Wrist: Neutral position, not bent up or down
The Left Hand (Support Hand)
The left hand has important support functions even though it doesn't manipulate beads:
- •Stabilizing: Lightly holds the soroban frame to prevent sliding (not gripping tightly)
- •Place tracking: Index finger points to the current column being calculated
- •Problem tracking: Can hold or point to the problem being worked on
- •Reading assistance: Helps track where to read the answer from
As students advance, the left hand's tracking role becomes increasingly important for accuracy during complex calculations.
Common Technique Mistakes and How to Fix Them
Mistake 1: Using Multiple Fingers
Children often want to use all their fingers, especially when first learning. While natural, this creates inconsistent movements that prevent speed development.
Fix: Gently remind 'thumb up, pointer down' before each practice session. Make it a game—have them say it aloud while demonstrating. Consider placing a small sticker on the correct fingers as a visual reminder.
Mistake 2: Gripping or Grabbing Beads
Some children pinch beads between fingers rather than pushing them. This slows movement dramatically and can cause hand fatigue.
Fix: Practice 'flick' movements without calculating—just push beads up and down rhythmically, focusing on light, quick touches. Compare to touching a hot stove: quick contact, immediate release.
Mistake 3: Watching the Fingers Instead of Beads
New learners often stare at their fingers rather than the beads and numbers they're representing. This prevents developing the visual processing needed for speed.
Fix: Practice in stages. First, look at fingers while learning the movements. Then consciously shift focus to the beads. Finally, the beads and numbers should be the entire focus, with fingers operating automatically.
Mistake 4: Tense, Rigid Hands
Anxiety or concentration can cause children to tense their hands, which restricts fluid movement and causes fatigue.
Fix: Before practice, shake hands loosely. Periodically during practice, pause and have children shake out their hands. Relaxation must be deliberately practiced until it becomes automatic.
Mistake 5: Poor Head/Eye Position
Children often crane their necks forward, bringing their faces very close to the soroban. This causes neck strain and actually makes reading numbers harder.
Fix: Adjust the physical setup so they don't need to lean in. If they're leaning because they can't see clearly, check if they might need glasses. Eyes should move; neck should stay relatively still.
| Problem | Cause | Quick Fix |
|---|---|---|
| Multiple fingers moving beads | Natural exploration instinct | Verbal reminder + finger stickers |
| Grabbing/pinching beads | Desire for control | Practice flick movements separately |
| Watching fingers | Learning stage | Consciously shift focus to beads |
| Tense hands | Anxiety or over-concentration | Shake-out breaks + relaxation practice |
| Face too close | Setup or vision issues | Adjust setup, check vision |
Special Considerations for Left-Handed Children
Parents of left-handed children often ask whether to teach traditional right-handed technique or adapt for left-hand dominance. Both approaches work; here's what to consider:
Option 1: Traditional Right-Hand Technique
- •Advantages: Aligns with all standard instruction materials; easier to find teachers; matches competition standards
- •Challenges: May feel initially awkward; requires patience during early learning
- •Recommendation: Often the better choice if the child shows no strong resistance
Option 2: Left-Hand Mirror Technique
- •Advantages: More natural feeling for strongly left-dominant children; may develop faster initially
- •Challenges: Instruction materials must be mentally mirrored; fewer compatible teachers; non-standard in competitions
- •Recommendation: Consider for strongly left-dominant children who struggle with right-hand operation
In my experience, about 70% of left-handed children adapt well to traditional right-hand technique with minimal extra effort. The soroban is an ambidextrous tool in many ways—both hands work together, and the 'operating' hand is doing fine motor work that doesn't strongly favor handedness.
When and How to Introduce Technique Corrections
Timing matters. Correcting technique too early frustrates children and kills enthusiasm. Correcting too late means bad habits become ingrained. Here's my recommended approach:
Week 1-2: Free Exploration
Let children play with the soroban however they want. The goal is falling in love with the instrument. No corrections, no technique instruction. Just supervised exploration and fun.
Week 3-4: Gentle Introduction
Begin mentioning 'thumb up, pointer down' without making it stressful. Demonstrate the proper technique. Praise when they do it correctly. Don't criticize when they don't. Let them see the technique as 'the cool way' rather than 'the required way.'
Month 2+: Consistent Reinforcement
By now, technique should become expected. Gentle reminders before practice. If they slip during practice, wait until a natural break to remind them. Never interrupt mid-calculation to correct technique—this creates anxiety and calculation errors.
Making Technique Fun
- •Mirror game: Parent and child do the same movements together
- •Technique points: Earn points for correct technique, trade for small rewards
- •Video review: Record and watch together, celebrating good technique moments
- •Expert comparison: Watch videos of fast calculators, notice their technique
- •Relaxation challenges: See who can keep hands most relaxed while calculating
FAQ: Parents' Most Common Questions About Technique
My child uses their whole hand to move beads. Is this a problem?
In the first few weeks, not at all—let them explore. After about a month of regular practice, begin gently encouraging two-finger technique. If they strongly resist, don't force it. Just keep modeling correct technique and make it seem appealing. Most children naturally migrate toward efficient movements over time.
Should I correct technique during homework or only during dedicated practice?
Ideally, have separate sessions for technique work and calculation work. During calculation practice (especially homework), let accuracy be the primary focus. During dedicated technique sessions, focus entirely on form without worrying about speed or accuracy. This separation prevents frustration and allows focused improvement in each area.
My child resists all corrections. What should I do?
Back off temporarily. Forced corrections create negative associations with soroban. Instead, model correct technique yourself, let them watch videos of skilled practitioners, and make occasional light suggestions. If resistance persists, consider whether a brief break from technique focus might help. Sometimes children accept corrections more readily after a period without any correction pressure.
A Final Note on Balance
Proper technique matters—but so does enjoyment. A child with imperfect technique who loves soroban will progress further than a child with perfect technique who dreads practice. Use this guide to understand what good technique looks like, gently encourage it, but never prioritize form over your child's positive relationship with learning.
My daughter's technique isn't textbook-perfect even now, years later. But she calculates confidently, enjoys practice, and has developed genuine number sense. That's the real goal—technique is just a tool to get there.
Don't stress about achieving perfect technique immediately. Plant the seeds of good habits, nurture them gently, and trust that they'll develop naturally over time. Your child's enthusiasm for learning is more valuable than textbook-perfect form.
Ready to build proper soroban technique from day one? Sorokid includes video demonstrations of correct form for every lesson—so your child develops good habits naturally.
Start Learning the Right Way